Overview
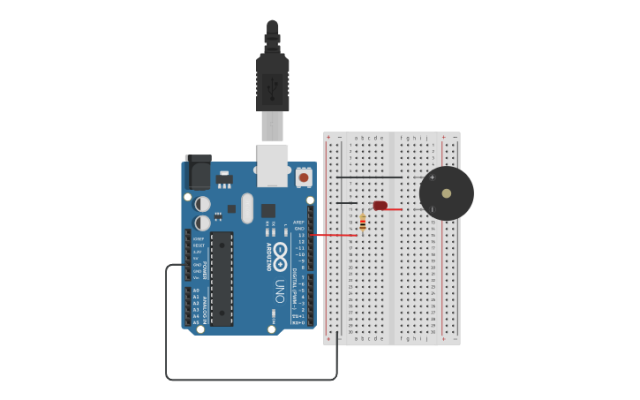
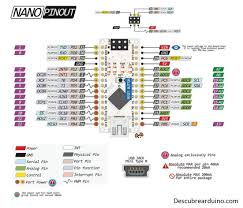
This workshop fills the gap between software upload success and safe physical prototyping. Learners create a board-and-breadboard map, label power rails, identify ground connections, and practice reading pin names before placing components.
The emphasis is on correct habits: power off before rewiring, confirm rails, add current-limiting resistors for LEDs, and keep signal wires visually traceable. ESP32 notes should highlight 3.3V logic and why pin labels differ between board families.
Learning Outcomes
- Identify common microcontroller pins, power pins, and ground references
- Use breadboard rows and rails correctly
- Apply LED polarity and resistor placement rules
- Perform a visual short-circuit check before applying power
What You Build
A labelled breadboard reference circuit with two LED outputs and a documented wiring map.
Materials Provided
Arduino-compatible board, breadboard, jumper wires, LEDs, resistors, printed board pinout, breadboard worksheet, optional ESP32 pinout comparison.
How Schools Can Integrate It
Use this as a safety and confidence bridge between coding and hardware. It works well as a short assessment where students must explain their wiring before powering the board.